반응형
1. 시험환경
˙ Android Studio
˙ AVD(Android Virtual Device, 안드로이드 가상 디바이스)
2. 목적
˙ Android Studio에서 제공하는 AVD를 최초 실행 및 동작하는 방법을 학습한다.
3. 적용
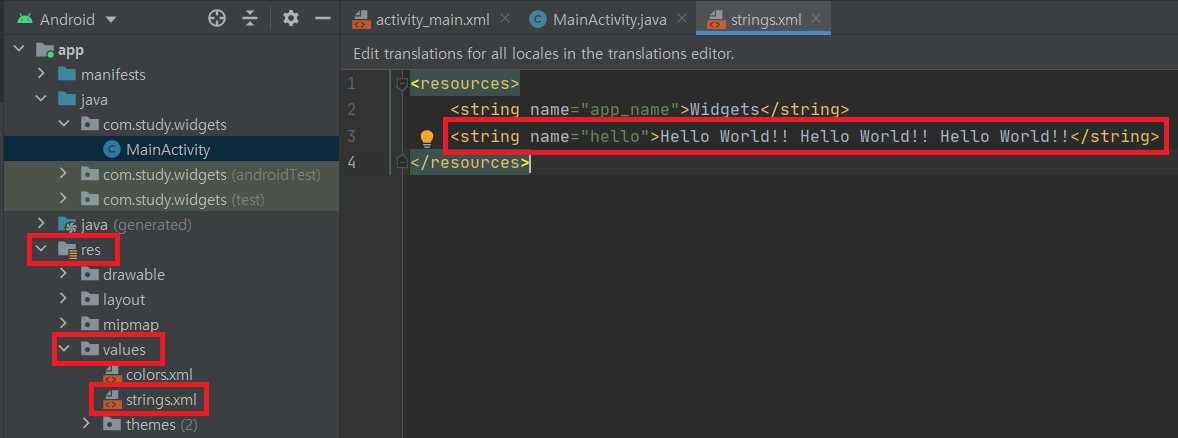
① Android Studio → More Actions → Virtual Device Manager를 클릭한다.

② 신규 디바이스를 만들기 위해 +("Create Virtual Device") 버튼을 클릭한다.

③ 가상 Device를 선택 후 Next 버튼을 클릭한다.

④ 가상 Device에 설치할 Android OS 이미지를 선택 및 설치한다.

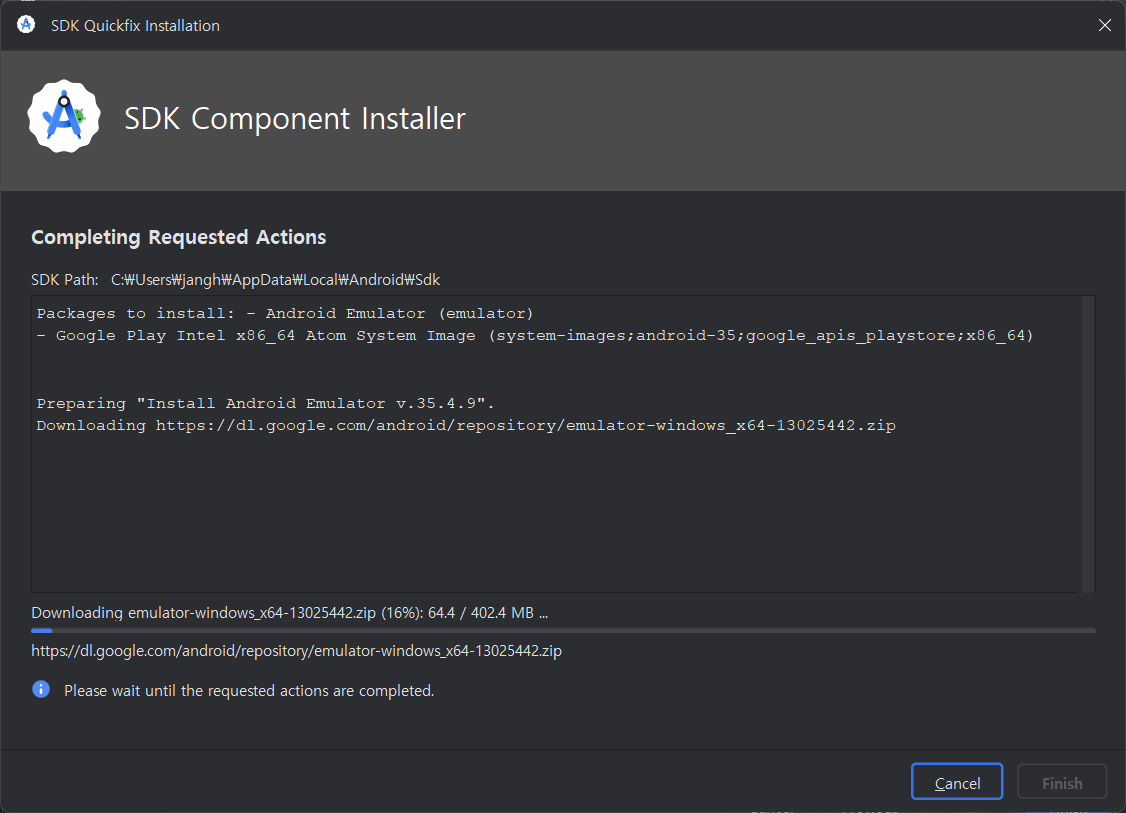
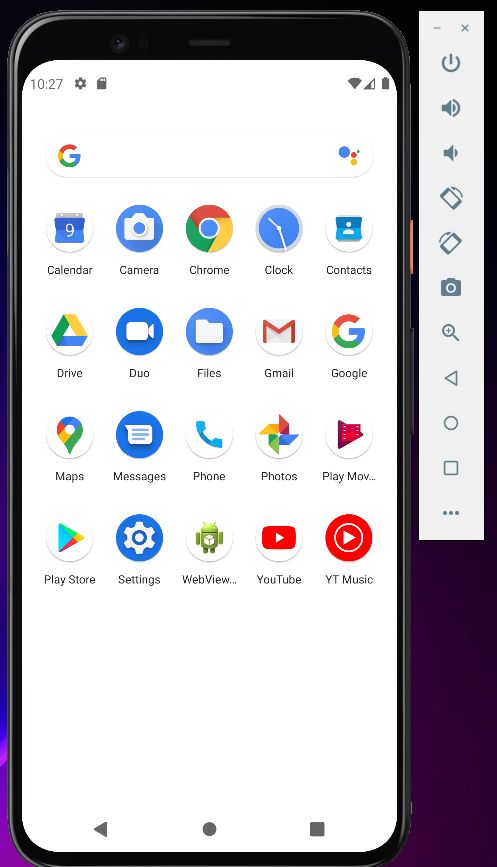
⑤ 설치가 완료되면 에뮬레이터를 실행한다.
 |
 |
4. 결과
˙ PC 환경에서 개발한 앱을 테스트할 수 있는 가상 디바이스 장치가 생성되었다.
반응형
'안드로이드' 카테고리의 다른 글
| Android Studio 최신버전(Meerkat) 설치 (0) | 2025.05.18 |
|---|---|
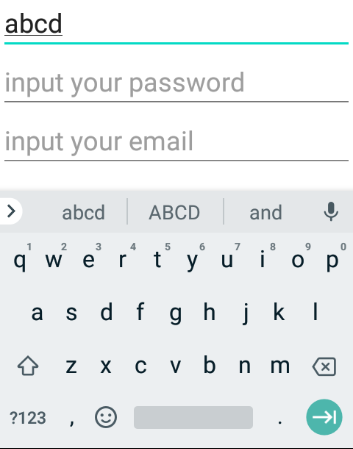
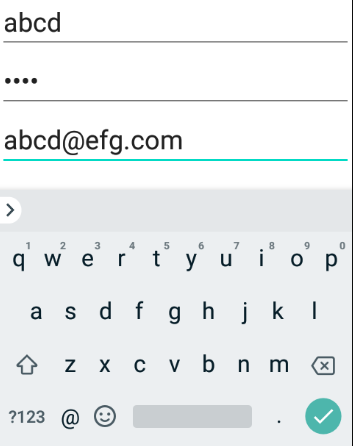
| Helloworld 프로젝트 생성 및 디바이스 테스트 (0) | 2025.03.11 |
| [BMI Calculator] 1. LinearLayout에 컴포넌트 배치하기 (0) | 2022.12.11 |
| Android Studio와 갤럭시 S 디바이스 장치 연결 설정 (0) | 2022.12.10 |
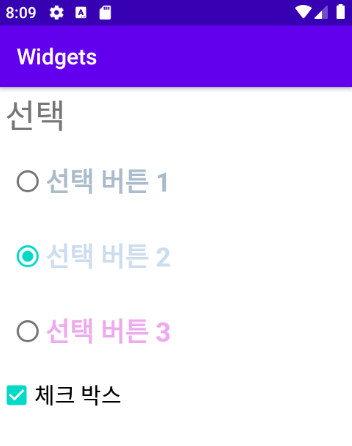
| [widget] RadioButton, CheckBox 기본 사용법 (0) | 2021.07.22 |