반응형
1. 시험환경
˙ 스프링 프레임워크 5.1.8.Release
˙ MyBatis 3.5.1
˙ MySQL 8.0.13
2. 목적
˙ 스프링 개발 환경에서 100만건 이상의 대용량 데이터 DB에 저장한다.
˙ DB에 연속적으로 INSERT 하는 도중 발생하는 에러에 대처한다.
|
1
2
3
4
5
6
7
8
9
10
11
12
13
14
15
16
17
18
19
20
21
22
|
org.mybatis.spring.MyBatisSystemException: nested exception is org.apache.ibatis.exceptions.PersistenceException:
### Error querying database. Cause: org.springframework.jdbc.CannotGetJdbcConnectionException: Failed to obtain JDBC Connection; nested exception is com.mysql.cj.jdbc.exceptions.CommunicationsException: The driver was unable to create a connection due to an inability to establish the client portion of a socket.
This is usually caused by a limit on the number of sockets imposed by the operating system. This limit is usually configurable.
For Unix-based platforms, see the manual page for the 'ulimit' command. Kernel or system reconfiguration may also be required.
For Windows-based platforms, see Microsoft Knowledge Base Article 196271 (Q196271).
(에러 발생 위치... 생략)
### The error occurred while executing a query
### Cause: org.springframework.jdbc.CannotGetJdbcConnectionException: Failed to obtain JDBC Connection; nested exception is com.mysql.cj.jdbc.exceptions.CommunicationsException: The driver was unable to create a connection due to an inability to establish the client portion of a socket.
This is usually caused by a limit on the number of sockets imposed by the operating system. This limit is usually configurable.
For Unix-based platforms, see the manual page for the 'ulimit' command. Kernel or system reconfiguration may also be required.
For Windows-based platforms, see Microsoft Knowledge Base Article 196271 (Q196271).
at org.mybatis.spring.MyBatisExceptionTranslator.translateExceptionIfPossible(MyBatisExceptionTranslator.java:77)
at org.mybatis.spring.SqlSessionTemplate$SqlSessionInterceptor.invoke(SqlSessionTemplate.java:446)
at com.sun.proxy.$Proxy8.selectOne(Unknown Source)
at org.mybatis.spring.SqlSessionTemplate.selectOne(SqlSessionTemplate.java:166)
(생략)
|
cs |
3. 적용
① 윈도우 레지스트리 실행 (단축키 : win + R)
② 컴퓨터\HKEY_LOCAL_MACHINE\SYSTEM\CurrentControlSet\Services\Tcpip\Parameters
③ MaxUserPort를 최대값 65534로 변경한다.

4. 결과
˙ 레지스트리 정보 수정 후 다시 시도한 결과, 해당 오류가 다시 나타지 않았다.
※ 내용이 도움 되셨다면 광고 클릭 한번 부탁드립니다 ※
반응형
'설정' 카테고리의 다른 글
| [디스크 관리] 파티션 삭제 및 병합하기 (1) | 2022.06.10 |
|---|---|
| SSH Agent Key Forwarding in putty, mobaxterm (0) | 2022.06.06 |
| 윈도우 폴더 공유 설정 (0) | 2022.01.20 |
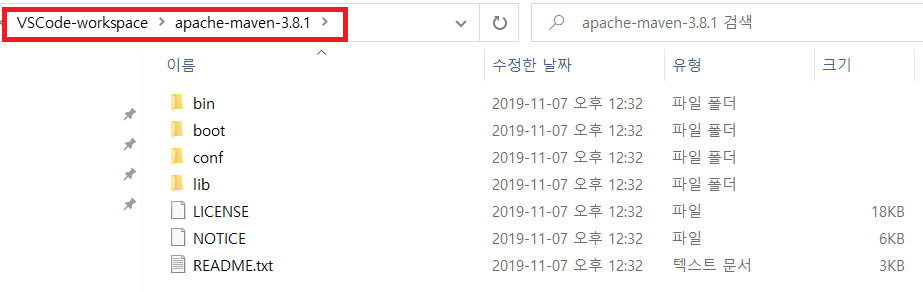
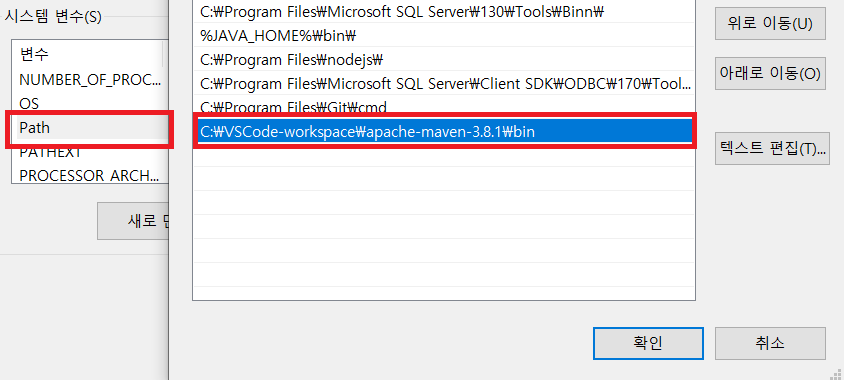
| Apache Maven 설치 (0) | 2021.06.16 |
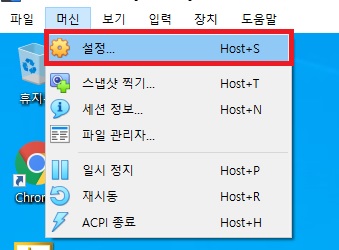
| Virtual Box 공유 폴더 설정 (0) | 2021.06.15 |